Why are Circuit Board Assemblies Printed?
Before the invention of printed circuit boards, electronic components inside a device were subject to manual connectivity, using wires. This manual construction accounted for many challenges in the manufacturing system. These circuits were extremely complex and difficult to manage. Not to mention, repairing a damaged circuit was a tedious task, and often times not reliable. In 1936, Paul Eisler, who was a brilliant engineer that worked in a newspaper company acknowledged the issues of the old circuit board assembly.
This allowed him to give birth to a new concept of printing on circuit board assemblies. He introduced a printed copper circuit on a non-conductive board. This formed a board with traces, and on top of these traces, you could connect electrical components. The very first PCB manufactured looked nothing like a modern PCB, even though both follow the same mechanism. Modern PCBs are much more sophisticated, smaller, and complex.
Manufacturing process
When manufacturing PCB of today, you have to start from a simple copper flat sheet. The manufacturing process and complete circuit board assembly turns the copper sheet into a sophisticated printed circuit board in a detailed manner. To start off, a layer of copper foil laminates on a flat sheet of glass fiber material. The glass fiber material offers mechanical support, and it remains with it until the manufacturing process ends.
Drilling Process
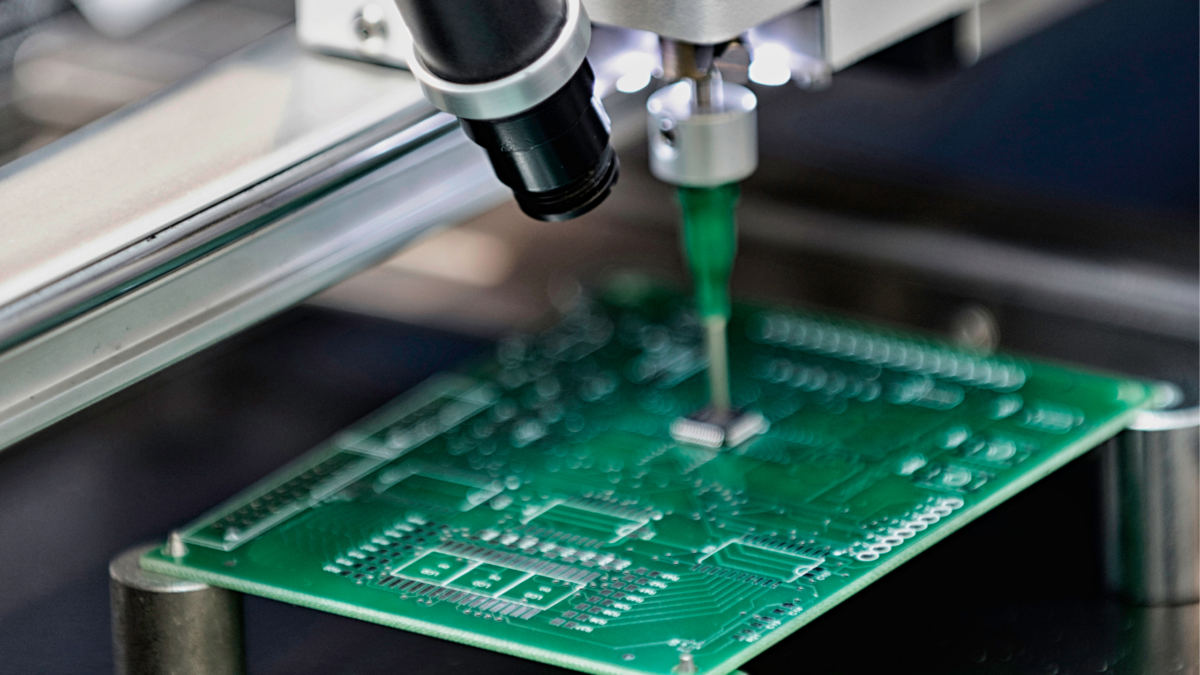
Once the aluminum sheet is arranged, it undergoes the drilling process. In this stage of the process, the printed circuit board undergoes registration holes on each side of the board. These holes act as the reference point for the alignment processes which will come ahead in the manufacturing. While the foundational board is being drilled, an engineer uses computer simulation software to design the circuit.
You can find many computer-aided platforms that allow you to create design files known as Gerber files. These files contain 3D models of PCB design. These files also dictate the arrangement of holes that the drilling machine will make. These holes are the places where the components are placed. After the drilling process is complete, the board undergoes a cleaning process. Cleaning allows all the residues to extinguish from the board that came with the drilling process.
Production of Copper Traces
After all the holes have been drilled, you can move on to the copper traces. A great way to accomplish this copper traces is through etching. This is a chemical process in which you have to use a resistive mask to cover the copper plates. This mask will easily cover the plate since it will have the same pattern of circuit you want.
If you happen to dip this arrangement into an alkaline solution at the temperature of 60 to 120 degrees Celsius, then the area of copper that is uncovered by the resistive mask is dissolved. You can also say that it is etched away. After this process completes, protective mask which was covering the circuit board also washes off in the next process.
Final Thoughts
As you can see, circuit board assemblies of today widely use surface prints and designs. Gerber files align all copper traces in the form of a print, which makes printing a quintessential process of circuit board assemblies. Furthermore, the printing process also helps speed up the process, which is ideal for mass production. Overall, printing process helped make PCBs more optimized, accurate and standard, which in turn was pivotal for the quality of the boards.