PCB Assembly
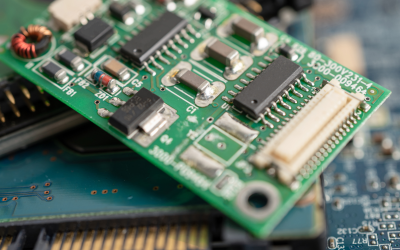
We’re full-service PCB assembly engineers located in Denver, Colorado. Our services include PCB Assembly including turnkey assembly, as well as consigned and partially consigned assembly.
We have three fully equipped production lines with a dedicated prototype line. We welcome all opportunities to build products you are passionate about within our vast scope of capabilities. As a flexible manufacturer we specialize in all volumes of orders, including high volume.
For over 35 years, our highly trained and committed staff has partnered with customers like you, to help them build the products they’re passionate about. We also use the industry-wide connections we’ve established over the years with reputable vendors to build products at very competitive rates.
OVER 35 YEARS OF EXPERIENCE
Our Services
Why are Circuit Board Assemblies Printed?
Before modern advancements in electronics, connecting components in a circuit was a manual and error-prone task. Engineers relied on point-to-point wiring to create circuits inside radios, computers, and early appliances. This method was time-consuming, difficult to...
Types of PCB Assembly Processes: An In-Depth Guide
Printed circuit boards (PCBs) are the core of nearly every modern electronic device—from smartphones and laptops to medical equipment and industrial systems. But behind every functioning PCB is a carefully executed series of PCB assembly processes that bring the board...
Understanding the PCB Environmental Impact: What You Need to Know
As electronics become more essential to daily life, so does the need to understand the pcb environmental impact. Printed circuit boards (PCBs) are foundational to nearly all electronic devices, but their production and disposal can have significant environmental...


